Master Chocolate Swirl Buns: Your Ultimate Guide to Dough, Filling & Swirl Secrets
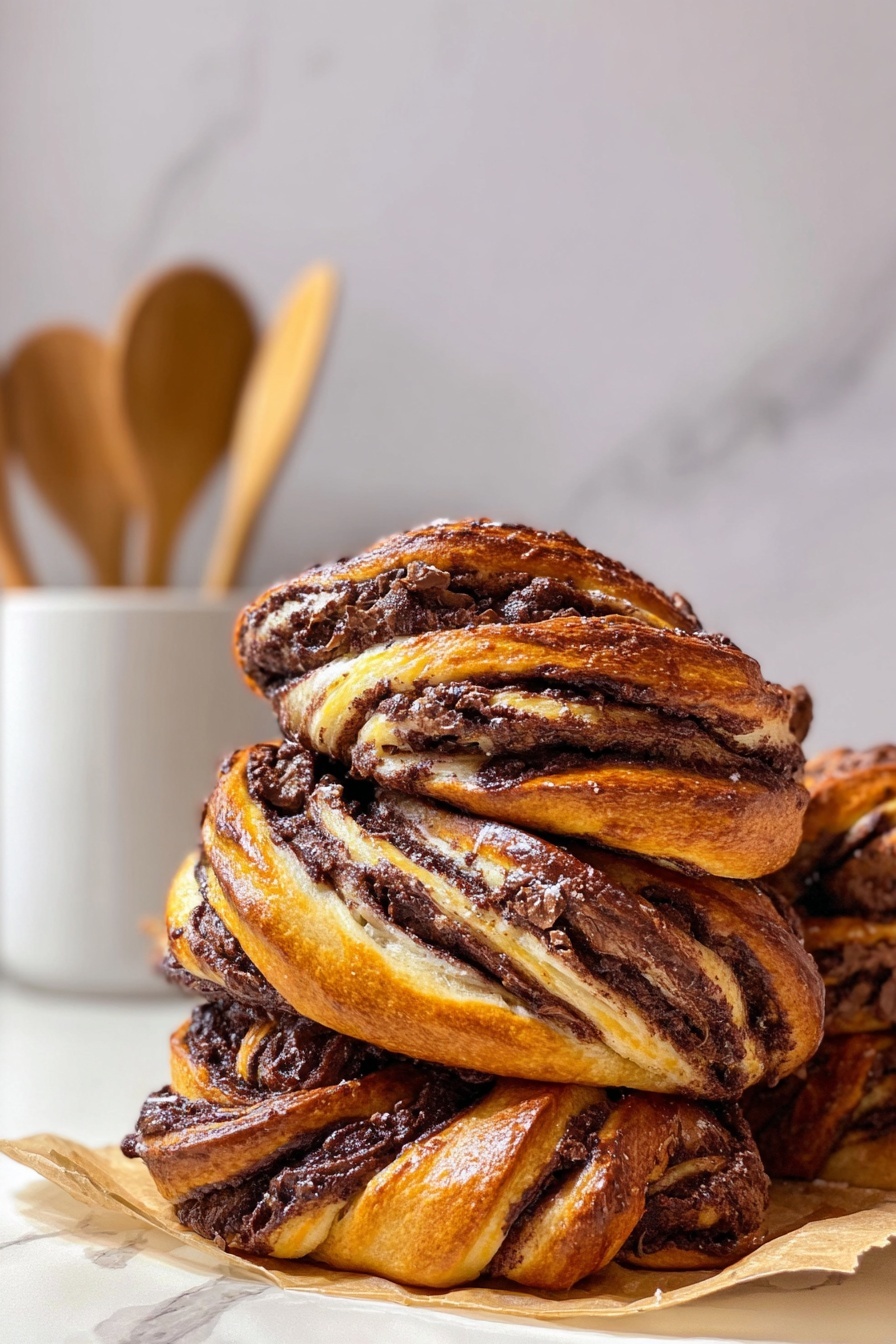
Imagine biting into a soft, pillowy bun, rich with deep chocolate flavor, elegantly patterned with swirls that look straight out of a patisserie. These aren't just any pastries; these are homemade chocolate swirl buns, a true labor of love that delivers immense satisfaction with every bite. Perfect for a leisurely breakfast, an indulgent afternoon treat, or a cozy dessert, these buns are a showstopping creation that, despite their fancy appearance, are surprisingly achievable for any home baker.
The journey to mastering these irresistible buns involves understanding the interplay of a tender dough, a decadent chocolate filling, and the clever technique that creates those signature swirls. Once you unlock these secrets, you'll find yourself hooked on baking these delightful treats, turning everyday moments into extraordinary ones.
The Anatomy of Perfection: Why These Chocolate Swirl Buns Work Wonders
What makes a perfect chocolate swirl bun? It's a harmonious blend of carefully chosen ingredients and thoughtful techniques that culminate in an experience far greater than the sum of its parts. Here’s a deeper dive into the fundamental principles behind their irresistible appeal:
The Dreamy Dough: Softness, Structure, and Rise
The foundation of any exceptional bun is its dough. For chocolate swirl buns, we aim for a dough that's tender, elastic, and capable of a beautiful, airy rise. This isn't just about mixing ingredients; it's about understanding their roles:
- Fresh Yeast vs. Dried Yeast: While dried yeast is convenient, many bakers, myself included, advocate for fresh yeast. It often yields a lighter, fluffier texture and a richer, more nuanced flavor. Fresh yeast is also typically more robust, leading to a more vigorous rise. If using dried yeast, ensure it's active and adjust quantities as per package instructions – generally, you'd use about half the weight of dry active yeast compared to fresh yeast.
- Warm Milk: This isn't just about hydration; it's about activation. Warm milk (ideally between 105-115°F or 40-46°C) is crucial for waking up the yeast, providing the perfect environment for it to start multiplying and producing the gases that make your dough rise. Too hot, and you'll kill the yeast; too cold, and it won't activate properly.
- Sugar: Beyond adding a subtle sweetness to the dough, sugar is vital for feeding the yeast. This metabolic process is what generates carbon dioxide, creating those wonderful pockets of air and contributing to the dough's airy texture.
- Eggs: Eggs are the secret to richness and a beautiful golden crumb. They act as a binder, adding structure, moisture, and contributing to the dough's tender texture. The lecithin in egg yolks also acts as an emulsifier, leading to a smoother, more uniform dough.
- Melted Butter: This imparts incredible tenderness, a luscious flavor, and helps achieve that desirable "pillowy" texture. Butter enriches the dough, making it soft and moist, and contributes to the golden-brown crust during baking.
- Flour: The primary structural component. While all-purpose flour works, strong bread flour (with a higher protein content) is often preferred for its ability to develop more gluten, resulting in a chewier, more elastic dough that can better support the rise.
- Salt: Don't skip the salt! It's not just for flavor enhancement, balancing the sweetness; it also helps regulate yeast activity, preventing the dough from over-proofing too quickly.
The Decadent Filling: Richness Without Overpowering Sweetness
The chocolate filling is the heart of these buns. It needs to be rich, deeply chocolatey, and spreadable, without being cloyingly sweet. Here’s how we achieve that perfect balance:
- Bittersweet Chocolate: This is key for a sophisticated chocolate flavor. Bittersweet chocolate offers a deep, intense cocoa profile that isn't overly sweet, providing a wonderful contrast to the slightly sweet dough.
- Cocoa Powder: To intensify that chocolate flavor even further, cocoa powder is a must. It adds depth and a robust bitterness that complements the bittersweet chocolate beautifully.
- Powdered Sugar: Unlike granulated sugar, powdered sugar (confectioners' sugar) dissolves easily and contributes to a smooth, fine-textured filling. It provides just enough sweetness to balance the bitterness of the chocolate.
- Butter & Oil: These fats are crucial for creating a creamy, spreadable filling. Butter adds flavor and richness, while a touch of neutral oil helps keep the filling smooth and pliable, preventing it from seizing up, especially important for easy spreading.
The Eye-Catching Swirl: Simplicity in Design
The beautiful swirl pattern is what truly elevates these buns from good to gorgeous. It might look intricate, but the technique is surprisingly simple. By carefully spreading the filling, folding the dough, and making strategic cuts, you create layers of dough and chocolate that magically twist into a captivating design when shaped and baked. The secret lies in a series of folds and a specific cutting method that, once learned, becomes intuitive. For detailed guidance on this, you might find inspiration in articles like Bake Irresistibly Fluffy Chocolate Swirl Buns At Home.
Beyond the Recipe: Tips for Perfection and Customization
While the core recipe for chocolate swirl buns is fantastic, there's always room to personalize and perfect your baking. Here are some insights and variations to consider:
Mastering Your Dough: Troubleshooting and Best Practices
One common concern for bakers, as noted by enthusiasts of similar recipes like Martha Stewart's babka, is ensuring the buns are sufficiently puffy. If you find your buns aren't rising as much as you'd like, consider these tips:
- Yeast Level: If you're nervous or impatient, a slight bump in yeast quantity can often lead to a more robust rise, especially if your yeast is older or your environment is cooler.
- Proofing Environment: A warm, draft-free place is crucial for yeast activity. A slightly warm oven (turned off, with just the light on) or a proofing box can provide an ideal environment. Humidity also plays a role, so a bowl of hot water in the oven can help.
- Kneading: Proper kneading develops the gluten network, which is essential for trapping the gases produced by the yeast, resulting in a light and airy texture. Don't under-knead!
- Dough Consistency: A slightly sticky dough is often a sign of good hydration, which contributes to softness. Avoid adding too much extra flour during kneading.
Elevating Your Filling: Flavor & Texture Variations
The chocolate filling is a canvas for creativity. Experiment with different chocolates or add-ins:
- Chocolate Choices: Swap bittersweet for dark chocolate with a higher cocoa percentage for an even more intense flavor, or use a blend of dark and milk chocolate for a sweeter profile. White chocolate can also be swirled for a striking visual contrast, perhaps with a hint of raspberry.
- Nutty Additions: For an extra layer of flavor and crunch, finely chopped hazelnuts, toasted almonds, or pecans can be folded into the chocolate filling before spreading.
- Spice It Up: A pinch of cinnamon, a dash of cardamom, or a tiny amount of chili powder can add an unexpected depth and warmth to your chocolate filling.
- Salty-Sweet Bliss: After spreading the filling, sprinkle a pinch of sea salt flakes over it before rolling for a delightful salty-sweet combination.
Dietary Adjustments & Beyond
For those with dietary needs, modifications are possible:
- Dairy-Free: Substitute warm milk with your favorite plant-based milk (almond, soy, oat), and replace butter with a good quality vegan butter alternative or coconut oil. Note that coconut oil can behave differently in doughs, so you might need to adjust the flour slightly to achieve the right texture.
- Gluten-Free: While more challenging, a quality gluten-free bread flour blend can be used. Be aware that the texture will differ, and you may need to adjust liquid content and kneading time.
These buns are a wonderful, simplified take on more elaborate pastries, offering a decadent alternative to a full-sized babka. For those interested in this streamlined approach, you might find more helpful insights in Simplified Chocolate Swirl Buns: Decadent Babka Alternative.
From Oven to Table: Baking, Serving & Storing Your Buns
Once your chocolate swirl buns are shaped and beautifully risen, they're ready for their final transformation in the oven. An egg wash before baking gives them that gorgeous golden, shiny crust that’s so appealing. Bake them until they're deeply golden brown, indicating they are cooked through and the chocolate filling is molten and gooey inside.
Serve them warm, ideally fresh out of the oven, when the chocolate is still melted and the dough is incredibly soft. They’re fantastic on their own, or perhaps with a dusting of powdered sugar, a drizzle of simple glaze, or even alongside a scoop of vanilla ice cream for an ultimate dessert experience. While they are undoubtedly best fresh, these buns reheat wonderfully in a microwave for 15-20 seconds or a warm oven for a few minutes, bringing back much of their initial glory. Store any leftovers in an airtight container at room temperature for up to 2-3 days.
Embrace the Joy of Baking
Crafting chocolate swirl buns is more than just following a recipe; it's an immersive experience that rewards you with incredible flavors and textures. From understanding the nuanced role of each ingredient in the dough to mastering the simple yet impressive swirl technique, every step brings you closer to baking perfection. Whether you’re making them for a special occasion or simply to treat yourself, these irresistible buns are sure to become a beloved favorite in your baking repertoire. So, roll up your sleeves, embrace the process, and prepare to be utterly hooked on the magic of homemade chocolate swirl buns.
